Secure AWS S3 File Uploads with Pre-Signed URLs: Node.js & React.js Guide for Private Bucket Access
January 23, 2025
When we create an S3 bucket in the AWS console, it is private by default, meaning only the bucket owner can upload the content to it. But there is a way where non-bucket owners can upload content to the bucket by using AWS pre-signed URLs.
A pre-signed URL is a temporary URL that is used to grant temporary access to the bucket which can be private. The URL can then be pasted in the browser or Postman to make a GET or POST requests.
In this article, we are going to see how we can upload images into an AWS S3 bucket using pre-signed URLs in Node.js and React.js application.
Let's get started
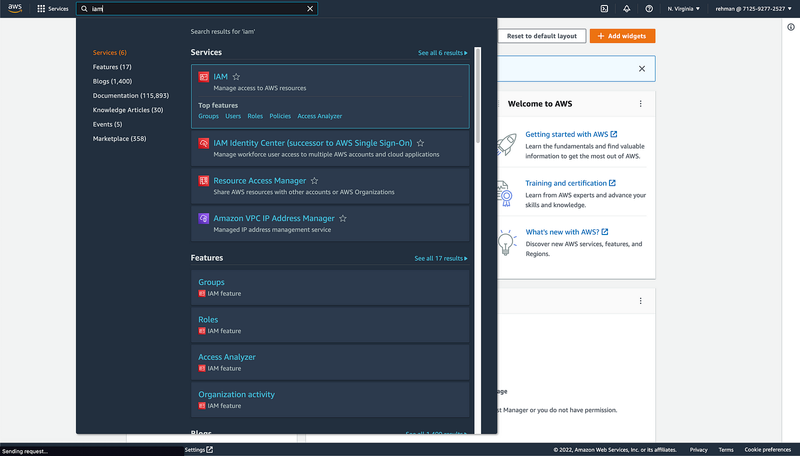
First thing we need to do is to create an IAM user in AWS console. To do this, head over to AWS console and type IAM in the search bar.
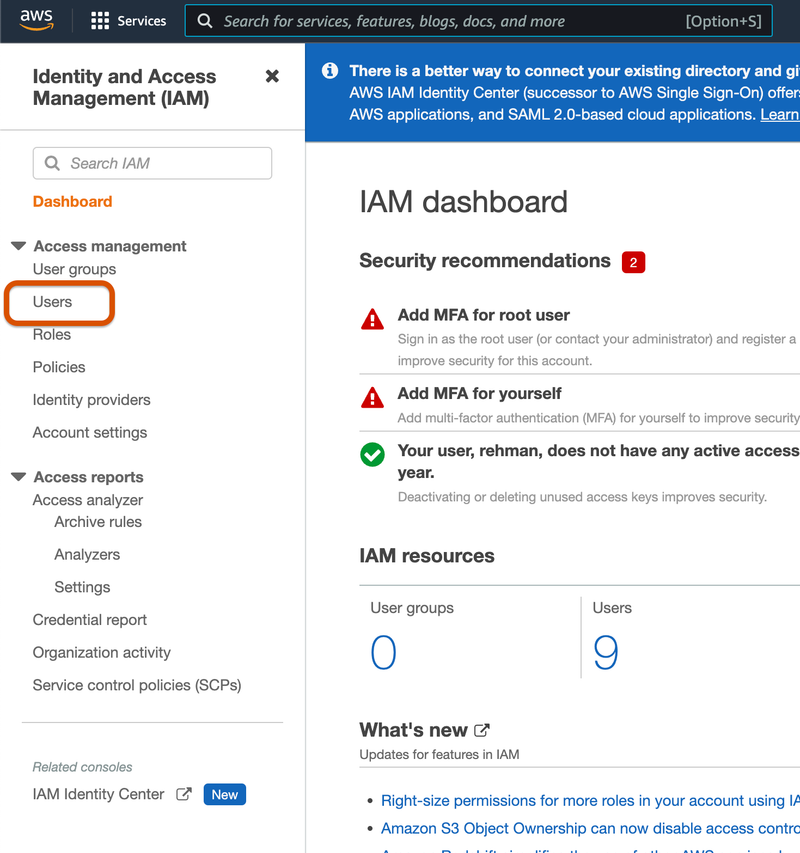
Click on IAM which will redirect you to IAM console and click on user tab on the left sidebar.
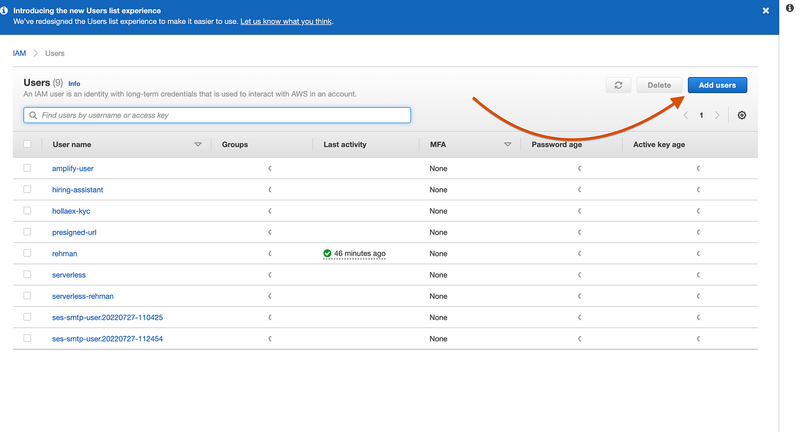
Next, click on Add Users
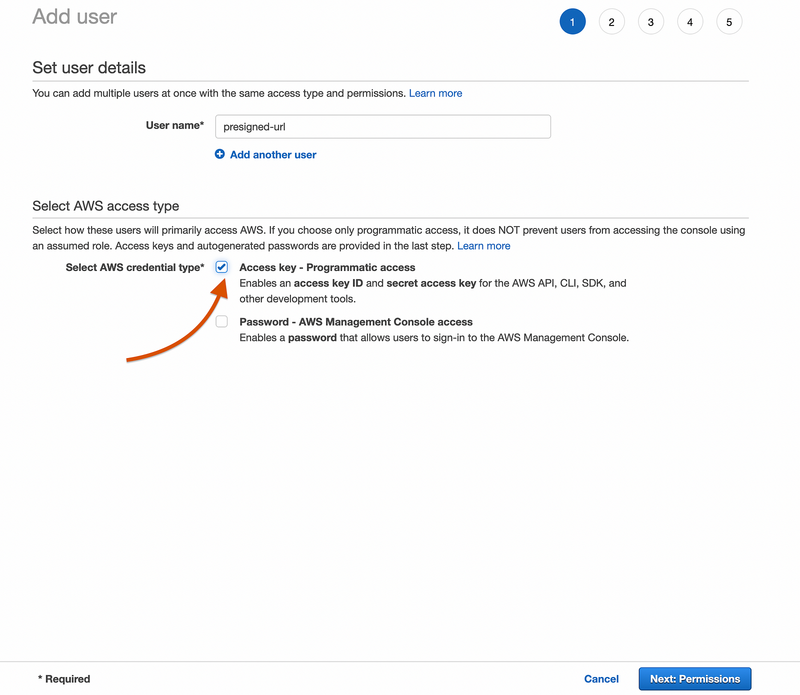
Enter a name for the user and mark the checkbox Access key — Programmatic access. When done, click the next button.
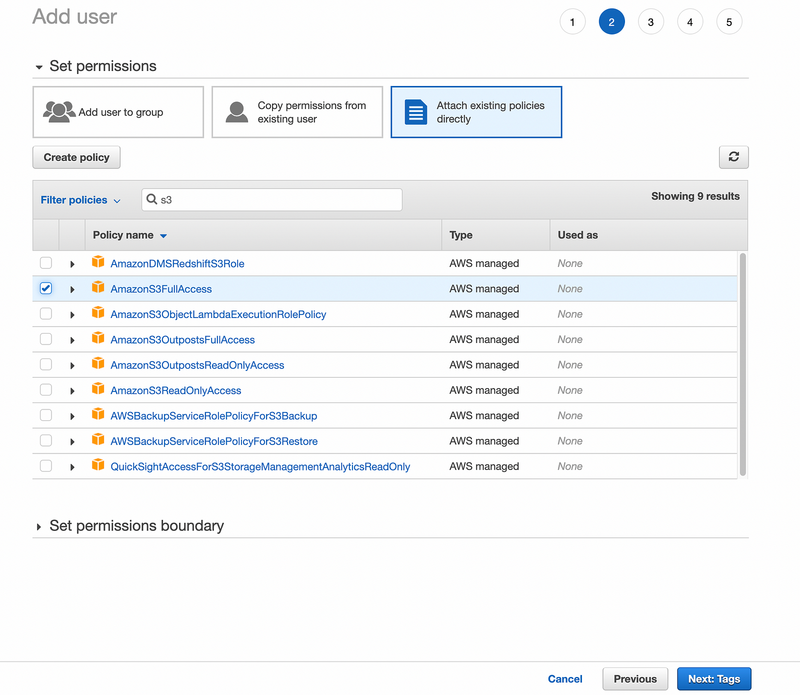
On the next screen, select Attach existing policies directly and search for s3. From the results, select AmazonS3FullAccess and click next.
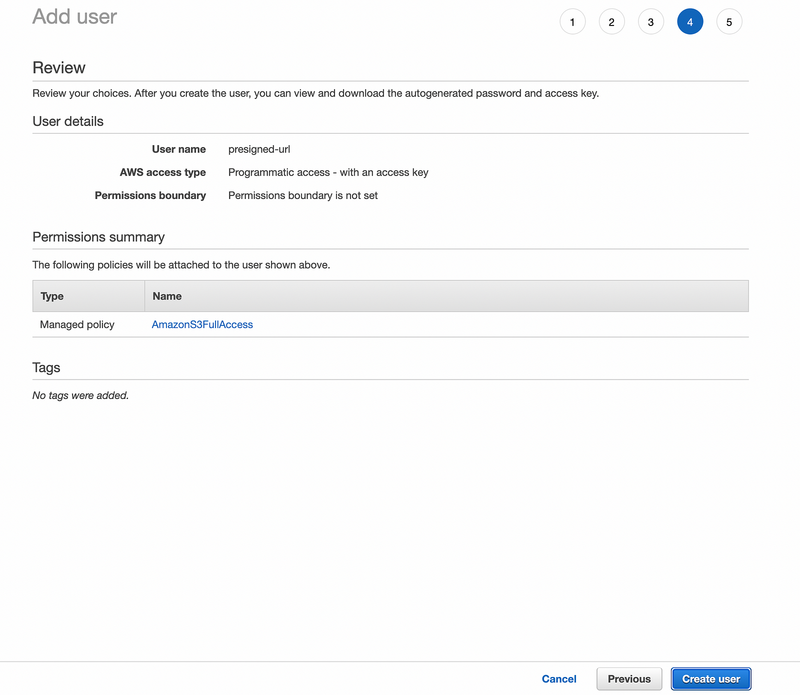
Click next on screen 3. On screen 4, we are shown the review of the user. click create user.
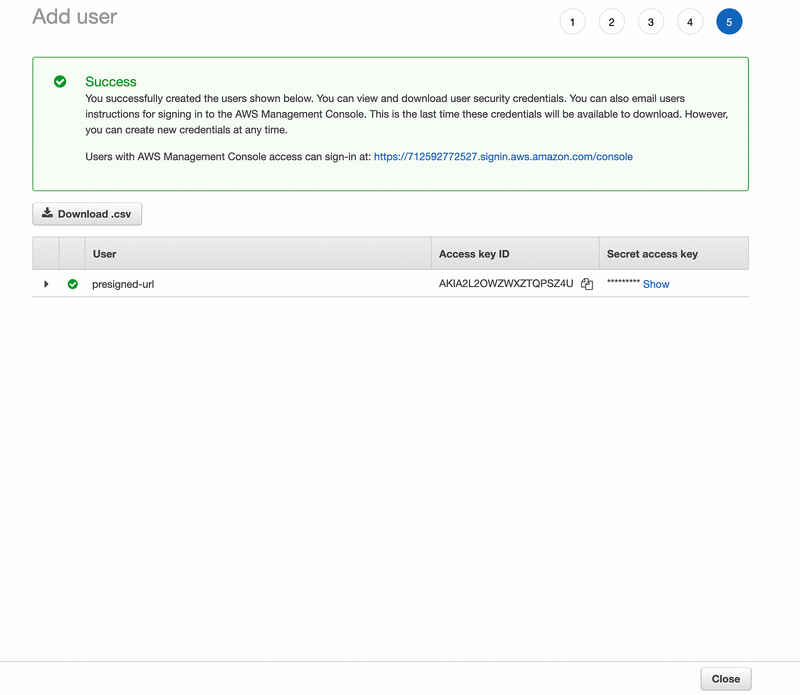
When user is created, it gives us access key id and secret access key. Store them in a protected place such as env file and never expose them.
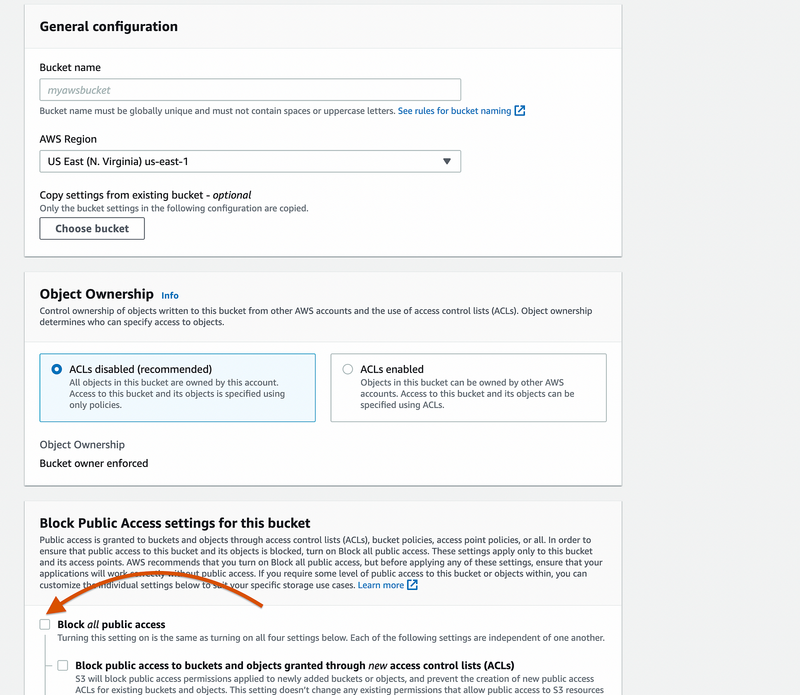
When the user is created, we move on to create a bucket where we will store the images. Head over to S3 console and create a new bucket.
Enter name for the bucket and uncheck the checkbox saying Block all public access.
Once the bucket is created, go to permissions tab and scroll down to add CORS policy.
[
    {
        "AllowedHeaders": [
            "*"
        ],
        "AllowedMethods": [
            "GET",
            "HEAD",
            "PUT",
            "POST"
        ],
        "AllowedOrigins": [
            "*"
        ],
        "ExposeHeaders": [],
        "MaxAgeSeconds": 3000
    }
]
We are all set up to move on to code implementation.
Frontend
We are going to use a react application which contains a simple file input.
import { useState } from "react";
import axios from "axios";
const backend = "http://localhost:8080";
export default function App() {
const [file, setFile] = useState("");
const handleFileChange = async (e) => {
setFile(e.target.files[0]);
};
const toBase64 = (file) =>
new Promise((resolve, reject) => {
const reader = new FileReader();
reader.readAsDataURL(file);
reader.onload = () => resolve(reader.result);
reader.onerror = (error) => reject(error);
});
const uploadImage = async (url) => {
const file2 = await toBase64(file);
axios
.put(url, file2, {
headers: {
"Access-Control-Allow-Origin": "*",
},
})
.then((response) => {
console.log(response);
})
.catch((error) => {
console.log(error);
});
};
const uploadImageToAWS = () => {
axios
.post(`${backend}/upload-image-to-aws`, { name: file.name })
.then((res) => {
const url = res.data;
uploadImage(url);
});
};
return (
Upload file to AWS
);
}
In the above code, we are going to use a simple file input and a button to upload the image to AWS. User picks the image from explorer and clicks upload button. The onChange handler make a POST request to the express backend and gets a presigned-url as a response. Once we get the presigned-url, we make another POST request to and send the picked file as the data.
Backend
We are using a simple express backend with one route for listening to POST requests. To interact with AWS , we are using an SDK provided by AWS which can be installed by suing the below statement
yarn add aws-sdk
Add the access key id and secret access key, which were obtained earlier while creating IAM user, to the AWS configuration.
aws.config.update({
  accessKeyId: process.env.AWS_HA_SYSTEM_ACCESS_ID,
  secretAccessKey: process.env.AWS_HA_SYSTEM_SECRET_KEY
});
Create a new S3 instance using the code below
const s3 = new aws.S3({
  accessKeyId: process.env.AWS_ACCESS_ID,
  secretAccessKey: process.env.AWS_SECRET_KEY,
  region: process.env.AWS_S3_REGION,
  Bucket: process.env.AWS_S3_BUCKET,
  signatureVersion: "v4",
});
Now, when a POST request is made to the API endpoint, we need to create a pre-signed URL and send it to the frontend.
app.post("/upload-image-to-aws", (req, res) => {
  const params = {
    Bucket: process.env.AWS_S3_BUCKET,
    Key: req.body.name,
    Expires: 60 * 5,
    ContentType: "image/*",
  };
  const URL = s3.getSignedUrl("putObject", params);
  res.status(200).json(URL);
});
Full code for the express application is shown below
const express = require("express");
const app = express();
const aws = require("aws-sdk");
const dotenv = require("dotenv");
const cors = require("cors");
const bodyParser = require("body-parser");

app.use(cors());
app.use(bodyParser.json());

dotenv.config({
  path: "../.env",
});

aws.config.update({
  accessKeyId: process.env.AWS_ACCESS_ID,
  secretAccessKey: process.env.AWS_SECRET_KEY,
});

const s3 = new aws.S3({
  accessKeyId: process.env.AWS_ACCESS_ID,
  secretAccessKey: process.env.AWS_SECRET_KEY,
  region: process.env.AWS_S3_REGION,
  Bucket: process.env.AWS_S3_BUCKET,
  signatureVersion: "v4",
});

app.post("/upload-image-to-aws", (req, res) => {
  const params = {
    Bucket: process.env.AWS_S3_BUCKET,
    Key: req.body.name,
    Expires: 60 * 5,
    ContentType: "image/*",
  };

  const URL = s3.getSignedUrl("putObject", params);

  res.status(200).json(URL);
});

app.listen(8080, () => {
  console.log("listening on 8080...");
});
Lets understand the flow of the application. User selects the image and make a POST request to the backend. On the backend, we make a presigned URL for the image and send the URL to the frontend. Once the frontend receives the response, it makes another request to the URL which was being sent from the backend.
Conclusion
We have seen how we can use AWS presigned URLs to grant a user temporary permission to interact with the S3 bucket and upload the content to it.
If you have any questions, let me know in the comment section.
Happy coding!!!